
Century: A New World
2019
Explore the 16th-century Americas through resource trading, worker placement, discovery, and survival.
45
minutes
2 - 4
player(s)
8+
Medium

About this board game
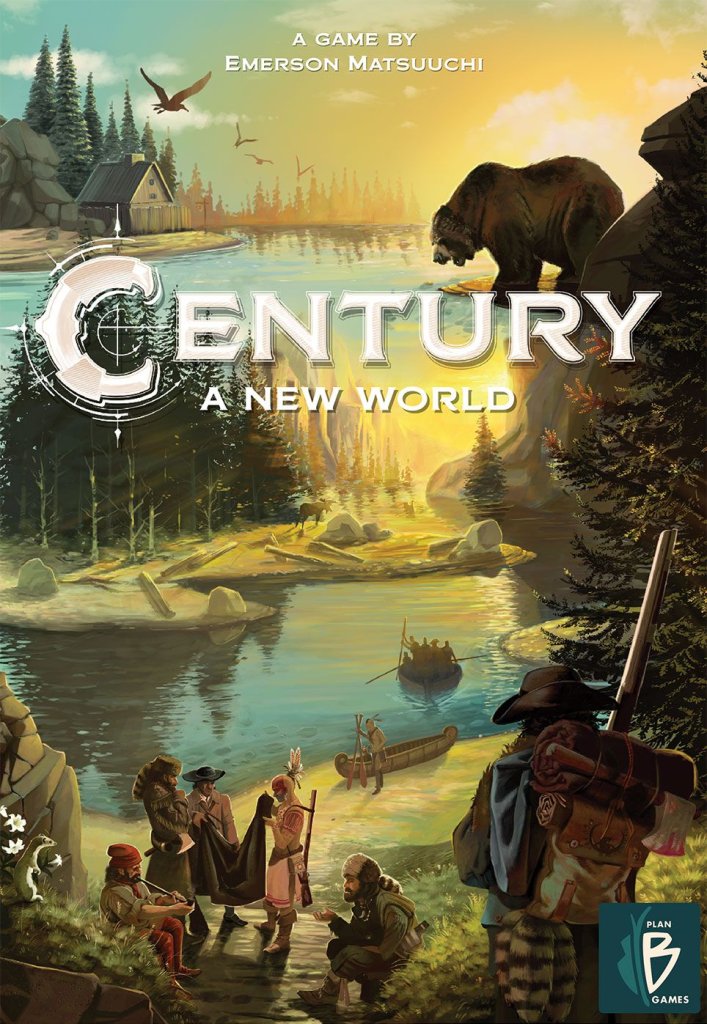
Century: A New World is a 2019 board game for 2–4 players with a play time of 45 minutes. It is the third and final installment in the Century series from designer Emerson Matsuuchi.
Set in the Americas at the dawn of the 16th century, the game sends players into unfamiliar wilderness. To survive and document their experiences, players explore new lands, trade with local inhabitants, journal their findings, and hunt or gather resources.
Century: A New World combines the series’ compelling resource-trading mechanisms with worker placement featuring a twist. This blend gives the game a distinctive setting while connecting its new system to the mechanisms found throughout the Century series.
During the game, players engage with several key activities:
- Exploration: Venture into new lands across the Americas.
- Trade: Use the Century series’ resource-trading mechanisms.
- Worker placement: Apply the game’s unusual take on this familiar mechanism.
- Discovery and survival: Journal findings while hunting and gathering to endure the wilderness.
As the concluding entry in the original Century trilogy, Century: A New World also offers a way to expand beyond a single title. It may be combined with Century: Spice Road, Century: Eastern Wonders, or both, creating new mixable games from the series.
With its 45-minute playing time and support for 2–4 players, Century: A New World presents a focused expedition built around exploration, trade, resource management, and worker placement.
/pic7182955.jpg)
Board Game Rules for
Century: A New World
Centuries ago, the spice trade was the most important market in the world. It established and destroyed empires, compelled men to explore the far corners of the earth and led to the discovery of new worlds.
Setup Steps
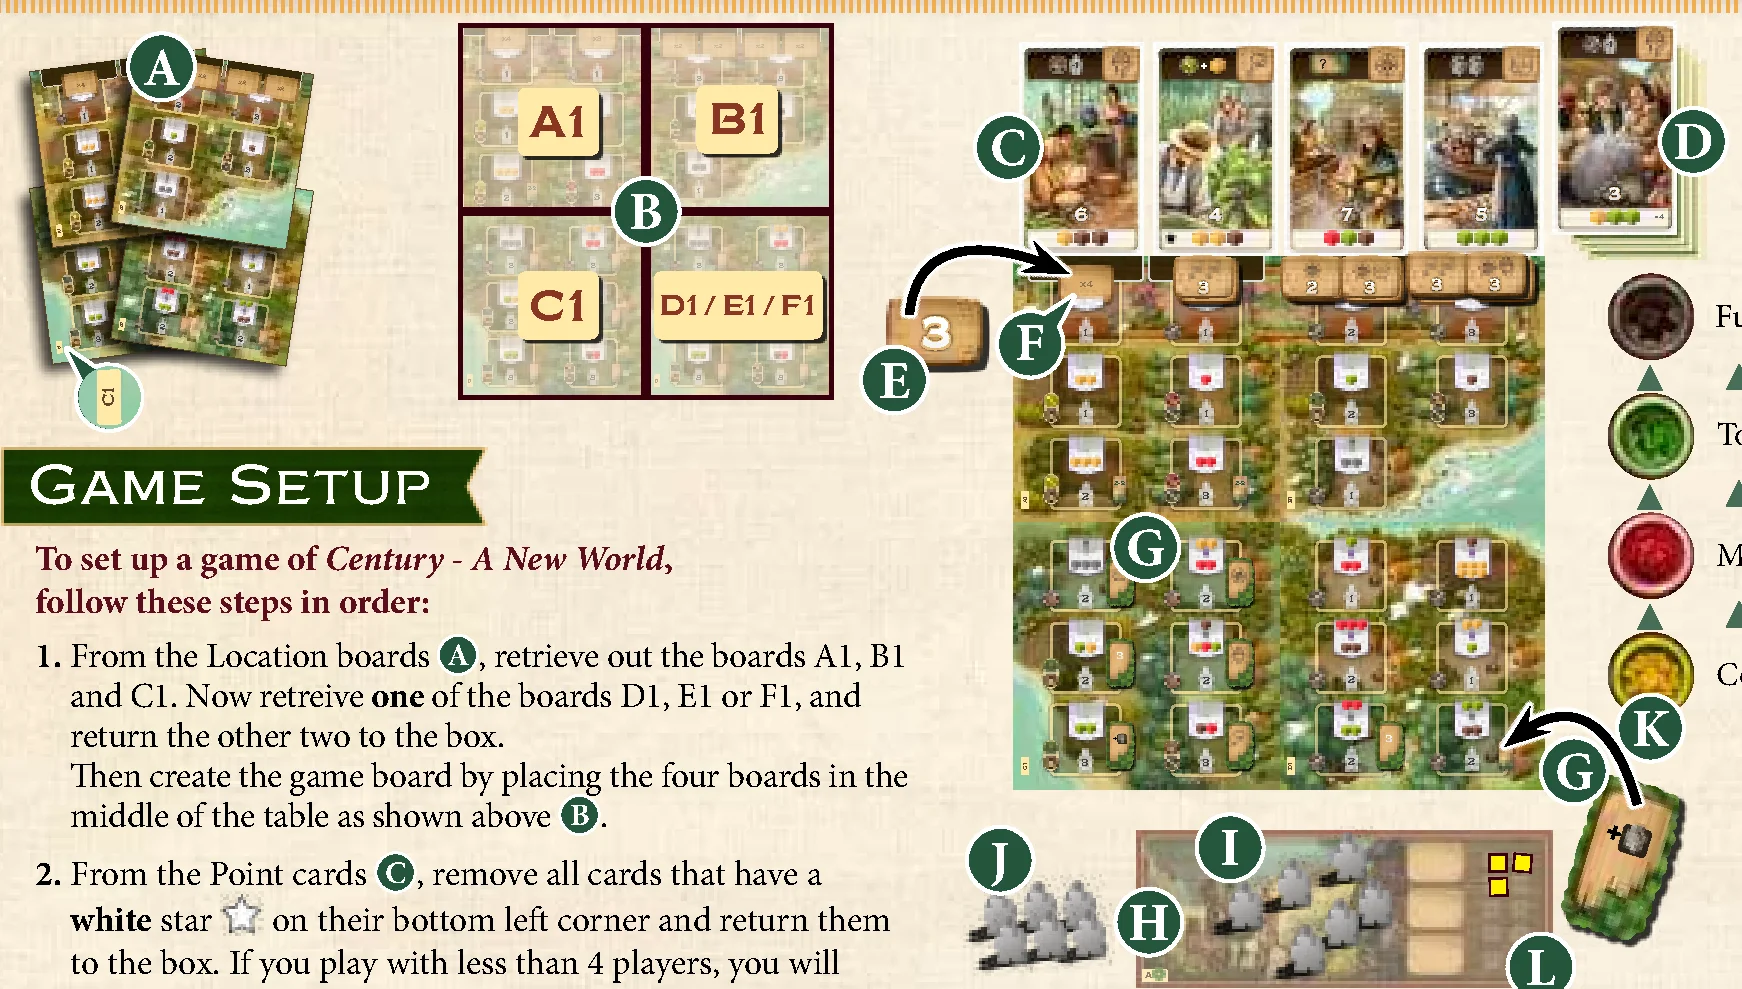
To set up a game of Century – A New World, follow these steps in order:
- From the Location boards A, retrieve the boards A1, B1 and C1. Now retrieve one of the boards D1, E1 or F1, and return the other two to the box. Then create the game board by placing the four boards in the middle of the table as shown above B.
- From the Point cards C, remove all cards that have a white star
 on their bottom left corner and return them to the box. If you play with less than 4 players, you will remove cards based on the player count:
- In a 2-player game, remove all cards with a “3+”- and “=4”-mark in their bottom right corner.
- In a 3-player game, remove all cards with a “=4”-mark.
Afterwards, shuffle the Point cards and place one at random above each Fort location at the top of the game board face up. Place the remaining cards as a face-up draw deck D close by.
- From the Bonus tiles E, remove all tiles that show the icons I or III at their bottom and return them to the box. Shuffle the remaining 17 Bonus tiles and place a stack face-up onto each bonus space F on the game board. Every stack includes as many random Bonus tiles as the number on that space states. Return any spare Bonus tiles to the box.
- Shuffle the ten Exploration tiles G. At random, place one tile face up onto every location that has an Exploration icon on it.
- In a 2- and 3-player game, place one of the remaining two Exploration tiles onto each location that is marked with a 2-3 icon.
- In a 4-player game, return the two remaining Exploration tiles to the box, leaving the locations with an 2-3 icon uncovered.
- Retrieve a player board H for each player. Make sure the one with the first player symbol
 is included. Shuffle them and place one in front of each player with side A facing up. The player with the first player symbol will be the start player.
 - Each player chooses a player color and takes the 12 settlers of that color. They then place six of them on their player board I (seven in a 2-player game). The remaining settlers are placed as a reserve to the left of their player board J. These are not available to the players yet.
- Next to the game board, put the cubes into the bowls separated by colour K and arrange those 4 bowls in an ascending order: yellow (corn) ▶ red (meat) ▶ green (tobacco) ▶ brown (fur).
- Based on player turn order, each player will receive the following quantity of cubes and place them in the storage L on their player board:
- 1st player > 3 yellow cubes
- 2nd player > 4 yellow cubes
- 3rd player > 4 yellow cubes
- 4th player > 3 yellow cubes and 1 red cube
Century – A New World is played over a series of rounds. Each player will take one turn each round (starting with the first player and going clockwise).
On your turn, you must perform 1 of the following actions:
- Work: Use one location of the game board by placing the required number of settlers there.
- Rest: Return all your settlers from the game board to your player board.
Action 1: Work
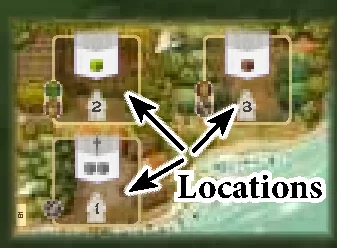
Choose one location on the game board.
You can choose any location that has neither an Exploration tile nor your own settlers on it.
Then:
- place the required number of settlers on that location and
- use that location’s action(s).
a) Placing settlers on a location:
Take the required number of settlers from your player board and place them onto the chosen location. The required number is determined as follows:
- If the location is not occupied by any settlers, place as many settlers there as shown at the location’s bottom.
- If the location is already occupied by any number of settlers of another player, you must oust those by placing the same number of settlers there plus one additional settler. Then return the ousted settlers to their owner’s player board.
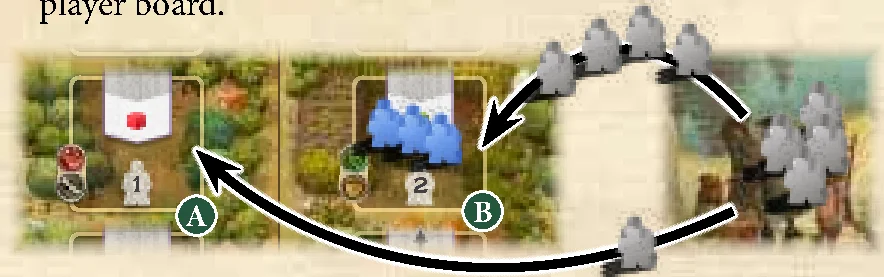
Example: If Tom wanted to use location A, he would have to place 1 settler from his player board there. If he wanted to use location B, he would need to place 4 settlers from his player board there and return the 3 blue settlers to the player board of their owner.
Note: Due to benefits of Native Help cards, it may happen that a location is occupied by fewer settlers than the number on the location’s bottom shows.
b) Performing the location’s action(s):
After you have placed your settlers on the location you must perform the action according to its type immediately.
Action 2: Rest
If you cannot or do not want to use a location on your turn, you must instead collect all of your settlers from the game board and place them back onto your player board.
Supply & Storage Rules
Storage Limit
At the end of any turn, if you have more cubes in your storage than spaces available, you must return cubes of your choice to the supply until you reach your storage limit of 10 cubes.
Cube Supply Limit
The cube supply is considered unlimited. If a supply should be exhausted, use something else as a substitute.
There are 4 basic types of locations on the game board. After placing your settlers on a location, you must perform its corresponding action immediately.
Production Locations
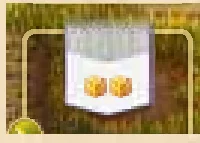
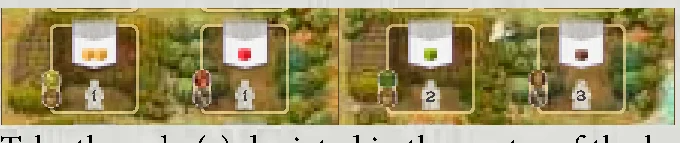
At Production locations, you gain specific cubes from the supply. Take the cube(s) depicted in the center of the location from the supply and add it(them) to your storage.
Upgrade Locations


At Upgrade locations, you upgrade goods in your storage to goods of a higher level. For each grey cube depicted in the center of the location, you may upgrade 1 cube from your storage to the next level by returning it to the supply and taking a cube of the next level in exchange. You may upgrade the same cube multiple times.
Trade Locations

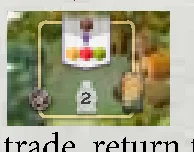
At Trade locations, you exchange specific goods from your storage for other ones from the supply. Perform the trade shown in the center of the location as many times as you like (at least once): For each time you perform that trade, return the cube(s) shown above the arrow from your storage to the supply to take the cube(s) shown below the arrow from the supply and add them to your storage.
Fort Locations
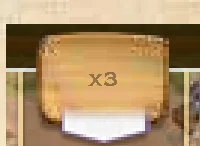
At Fort locations, you may exchange cubes to claim that location’s Point card or take one Bonus tile or both. You can choose to perform either one or both of the following actions:
- Take the top Bonus tile of this Fort location’s stack (if available) and place it onto an empty bonus space on your player board. (If there are two stacks on this location, choose the top tile from one of them.) Once all three of your bonus spaces have a Bonus tile each, you can not gain any more Bonus tiles.
- Claim the Point card above this Fort location by returning the cubes stated at the bottom of the card from your storage to the supply. Then place the card beside your player board. (If you already have one or more Point cards there, form an overlapping row in which only the top part of each card is visible.)

After acquiring a Point card, fill the empty slot by sliding the cards to the left, creating an empty slot just to the left of the Point cards deck; then draw a card from the deck to fill that empty slot.
Each Point card shows one of the 4 New World Icons and gives you either an immediate or a permanent benefit. In addition, each Point card is worth points at the end of the game as indicated at the bottom of the card.
Point Cards
There are 4 types of Point cards, each marked by a New World Icon in its upper right corner.
- Native Help cards have the following permanent benefit: Whenever you use a location that includes the depicted icon in the circle, the required number of settlers you need to place on this location is reduced by 1. If you have several cards of the matching symbol, each of them reduces the required number by 1. However, you must always place at least one settler.
- Tool cards have the following permanent benefit: Whenever you use a location that includes the depicted icon in the circle, you gain the depicted cube immediately, before performing that location’s action. If you have several cards of the matching symbol, each of them gives you that additional cube.
- New Settler(s) cards have the following immediate benefit: When claiming the card, take the shown number of settlers from your reserve and place them on your player board. If you have no settlers left in your reserve, you must forfeit that benefit (but you still can claim that type of card).
- Exploration cards have the following immediate benefit: When claiming the card, take one Exploration tile from the game board and place it in front of you. If it shows an immediate bonus, gain that bonus now. By removing the Exploration tile, you have uncovered a new location which can be used by all players from now on.
Bonuses of the Exploration Tiles:
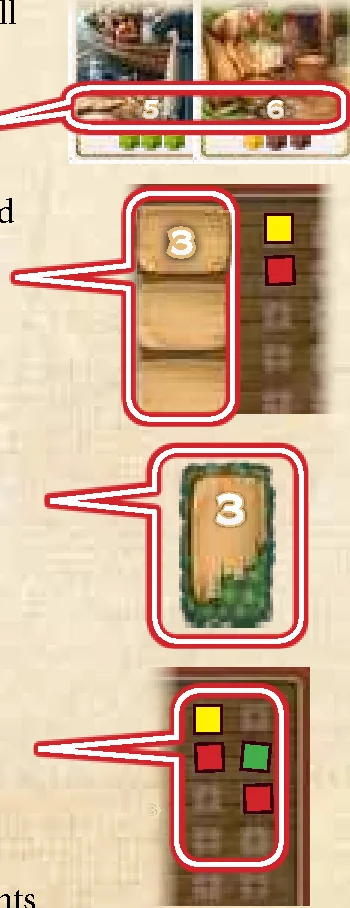
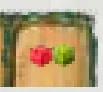 Immediate bonus: Gain the depicted cubes from the supply.
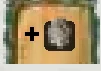 Immediate bonus: Add one settler from your reserve to your player board.
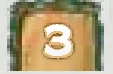 Game end bonus: 3 points.
 Game end bonus: 1 additional New World Icon when scoring Bonus tiles.
Bonus Tiles
Most of the Bonus tiles show a specific requirement. When you score them at game end, check for each Bonus tile individually how many times you have met its requirement. For each time it is met, you gain the points depicted on its bottom.
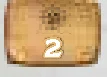 Gain 2 points for each depicted New World Icon you collected (Point cards and Exploration tiles).
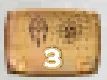 Gain 3 points for each pair of the depicted New World Icons you collected (Point cards and Exploration tiles).
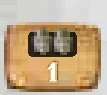 Gain 1 point for every 2 settlers you collected. This applies to all of your settlers that are on your player board or the game board (those in your reserve do not count).
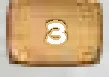 Gain 3 points (no requirement).
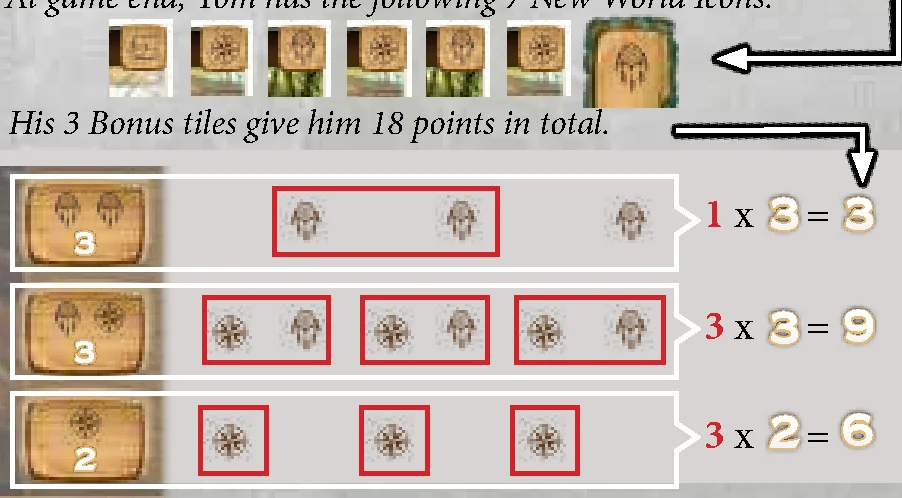
Example: At game end, Tom has the following 7 New World Icons. His 3 Bonus tiles give him 18 points in total:
Game End Trigger
Once a player claims their 8th Point card, finish the current round of play. Then the game ends.
Final Scoring
At that point, players count all their points from:
- Their Point cards
- Bonus tiles they have gained during the game (see section “Bonus tiles” for how to score them)
- Exploration tiles they have gained due to certain Point cards (see section “Point cards”)
- Remaining cubes in their storage: Each non-yellow cube is worth 1 point.
The player with the most points wins. If there is a tie, the tied player who was last to take a turn wins.
Credits
Game Designer: Emerson Matsuuchi
Producer: Sophie Gravel
Illustrations: Chris Quilliams & Atha Kanaani
Graphic Designer: Stéphane Vachon
Development by: Viktor Kobilke, Moritz Thiele and André Bierth
© 2019 Plan B Games Inc.
No part of this product may be reproduced without specific permission.
19 rue de la Coopérative, Rigaud, QC J0P 1P0 Canada.
Retain this information for your records.
Made in China.
Game Setup
Centuries ago, the spice trade was the most important market in the world. It established and destroyed empires, compelled men to explore the far corners of the earth and led to the discovery of new worlds.
Setup Steps
To set up a game of Century – A New World, follow these steps in order:
- From the Location boards A, retrieve the boards A1, B1 and C1. Now retrieve one of the boards D1, E1 or F1, and return the other two to the box. Then create the game board by placing the four boards in the middle of the table as shown above B.
- From the Point cards C, remove all cards that have a white star on their bottom left corner and return them to the box. If you play with less than 4 players, you will remove cards based on the player count:
- In a 2-player game, remove all cards with a “3+”- and “=4”-mark in their bottom right corner.
- In a 3-player game, remove all cards with a “=4”-mark.
Afterwards, shuffle the Point cards and place one at random above each Fort location at the top of the game board face up. Place the remaining cards as a face-up draw deck D close by.
- From the Bonus tiles E, remove all tiles that show the icons I or III at their bottom and return them to the box. Shuffle the remaining 17 Bonus tiles and place a stack face-up onto each bonus space F on the game board. Every stack includes as many random Bonus tiles as the number on that space states. Return any spare Bonus tiles to the box.
- Shuffle the ten Exploration tiles G. At random, place one tile face up onto every location that has an Exploration icon on it.
- In a 2- and 3-player game, place one of the remaining two Exploration tiles onto each location that is marked with a 2-3 icon.
- In a 4-player game, return the two remaining Exploration tiles to the box, leaving the locations with an 2-3 icon uncovered.
- Retrieve a player board H for each player. Make sure the one with the first player symbol is included. Shuffle them and place one in front of each player with side A facing up. The player with the first player symbol will be the start player.
- Each player chooses a player color and takes the 12 settlers of that color. They then place six of them on their player board I (seven in a 2-player game). The remaining settlers are placed as a reserve to the left of their player board J. These are not available to the players yet.
- Next to the game board, put the cubes into the bowls separated by colour K and arrange those 4 bowls in an ascending order: yellow (corn) ▶ red (meat) ▶ green (tobacco) ▶ brown (fur).
- Based on player turn order, each player will receive the following quantity of cubes and place them in the storage L on their player board:
- 1st player > 3 yellow cubes
- 2nd player > 4 yellow cubes
- 3rd player > 4 yellow cubes
- 4th player > 3 yellow cubes and 1 red cube
Taking a Turn
Century – A New World is played over a series of rounds. Each player will take one turn each round (starting with the first player and going clockwise).
On your turn, you must perform 1 of the following actions:
- Work: Use one location of the game board by placing the required number of settlers there.
- Rest: Return all your settlers from the game board to your player board.
Action 1: Work
Choose one location on the game board.
You can choose any location that has neither an Exploration tile nor your own settlers on it.
Then:
- place the required number of settlers on that location and
- use that location’s action(s).
a) Placing settlers on a location:
Take the required number of settlers from your player board and place them onto the chosen location. The required number is determined as follows:
- If the location is not occupied by any settlers, place as many settlers there as shown at the location’s bottom.
- If the location is already occupied by any number of settlers of another player, you must oust those by placing the same number of settlers there plus one additional settler. Then return the ousted settlers to their owner’s player board.
Example: If Tom wanted to use location A, he would have to place 1 settler from his player board there. If he wanted to use location B, he would need to place 4 settlers from his player board there and return the 3 blue settlers to the player board of their owner.
Note: Due to benefits of Native Help cards, it may happen that a location is occupied by fewer settlers than the number on the location’s bottom shows.
b) Performing the location’s action(s):
After you have placed your settlers on the location you must perform the action according to its type immediately.
Action 2: Rest
If you cannot or do not want to use a location on your turn, you must instead collect all of your settlers from the game board and place them back onto your player board.
Supply & Storage Rules
Storage Limit
At the end of any turn, if you have more cubes in your storage than spaces available, you must return cubes of your choice to the supply until you reach your storage limit of 10 cubes.
Cube Supply Limit
The cube supply is considered unlimited. If a supply should be exhausted, use something else as a substitute.
Basic Locations
There are 4 basic types of locations on the game board. After placing your settlers on a location, you must perform its corresponding action immediately.
Production Locations
At Production locations, you gain specific cubes from the supply. Take the cube(s) depicted in the center of the location from the supply and add it(them) to your storage.
Upgrade Locations
At Upgrade locations, you upgrade goods in your storage to goods of a higher level. For each grey cube depicted in the center of the location, you may upgrade 1 cube from your storage to the next level by returning it to the supply and taking a cube of the next level in exchange. You may upgrade the same cube multiple times.
Trade Locations
At Trade locations, you exchange specific goods from your storage for other ones from the supply. Perform the trade shown in the center of the location as many times as you like (at least once): For each time you perform that trade, return the cube(s) shown above the arrow from your storage to the supply to take the cube(s) shown below the arrow from the supply and add them to your storage.
Fort Locations
At Fort locations, you may exchange cubes to claim that location’s Point card or take one Bonus tile or both. You can choose to perform either one or both of the following actions:
- Take the top Bonus tile of this Fort location’s stack (if available) and place it onto an empty bonus space on your player board. (If there are two stacks on this location, choose the top tile from one of them.) Once all three of your bonus spaces have a Bonus tile each, you can not gain any more Bonus tiles.
- Claim the Point card above this Fort location by returning the cubes stated at the bottom of the card from your storage to the supply. Then place the card beside your player board. (If you already have one or more Point cards there, form an overlapping row in which only the top part of each card is visible.)
After acquiring a Point card, fill the empty slot by sliding the cards to the left, creating an empty slot just to the left of the Point cards deck; then draw a card from the deck to fill that empty slot.
Each Point card shows one of the 4 New World Icons and gives you either an immediate or a permanent benefit. In addition, each Point card is worth points at the end of the game as indicated at the bottom of the card.
Cards & Tiles Reference
Point Cards
There are 4 types of Point cards, each marked by a New World Icon in its upper right corner.
- Native Help cards have the following permanent benefit: Whenever you use a location that includes the depicted icon in the circle, the required number of settlers you need to place on this location is reduced by 1. If you have several cards of the matching symbol, each of them reduces the required number by 1. However, you must always place at least one settler.
- Tool cards have the following permanent benefit: Whenever you use a location that includes the depicted icon in the circle, you gain the depicted cube immediately, before performing that location’s action. If you have several cards of the matching symbol, each of them gives you that additional cube.
- New Settler(s) cards have the following immediate benefit: When claiming the card, take the shown number of settlers from your reserve and place them on your player board. If you have no settlers left in your reserve, you must forfeit that benefit (but you still can claim that type of card).
- Exploration cards have the following immediate benefit: When claiming the card, take one Exploration tile from the game board and place it in front of you. If it shows an immediate bonus, gain that bonus now. By removing the Exploration tile, you have uncovered a new location which can be used by all players from now on.
Bonuses of the Exploration Tiles:
- Immediate bonus: Gain the depicted cubes from the supply.
- Immediate bonus: Add one settler from your reserve to your player board.
- Game end bonus: 3 points.
- Game end bonus: 1 additional New World Icon when scoring Bonus tiles.
Bonus Tiles
Most of the Bonus tiles show a specific requirement. When you score them at game end, check for each Bonus tile individually how many times you have met its requirement. For each time it is met, you gain the points depicted on its bottom.
- Gain 2 points for each depicted New World Icon you collected (Point cards and Exploration tiles).
- Gain 3 points for each pair of the depicted New World Icons you collected (Point cards and Exploration tiles).
- Gain 1 point for every 2 settlers you collected. This applies to all of your settlers that are on your player board or the game board (those in your reserve do not count).
- Gain 3 points (no requirement).
Example: At game end, Tom has the following 7 New World Icons. His 3 Bonus tiles give him 18 points in total:
Game End & Scoring
Game End Trigger
Once a player claims their 8th Point card, finish the current round of play. Then the game ends.
Final Scoring
At that point, players count all their points from:
- Their Point cards
- Bonus tiles they have gained during the game (see section “Bonus tiles” for how to score them)
- Exploration tiles they have gained due to certain Point cards (see section “Point cards”)
- Remaining cubes in their storage: Each non-yellow cube is worth 1 point.
The player with the most points wins. If there is a tie, the tied player who was last to take a turn wins.
Credits
Credits
Game Designer: Emerson Matsuuchi
Producer: Sophie Gravel
Illustrations: Chris Quilliams & Atha Kanaani
Graphic Designer: Stéphane Vachon
Development by: Viktor Kobilke, Moritz Thiele and André Bierth
© 2019 Plan B Games Inc.
No part of this product may be reproduced without specific permission.
19 rue de la Coopérative, Rigaud, QC J0P 1P0 Canada.
Retain this information for your records.
Made in China.
